If you like gardening, and live in a cooler climate, you might try growing your own berries.
Given the right soil, berries can be very easy to grow and maintain. Strawberries are the easiest and most prolific,
but raspberries and blueberries are relatively easy as well. I'll discuss all three.
You will likely find this more "doable" in a cooler climate. The water needs for most berries are a bit much for
hotter, drier climates like Texas. Berries tend to bear fruit at temperatures of 60 to 80 degrees. So If you live in
a state where summer days start in the upper 70s and go up from there, you would do best to buy your
berries instead!
So, this article is based on my experience with growing berries in Oregon, which is a big "Berry State". Here in
Oregon, you can buy 55 gallon drums of blueberries during the height of the berry season! OK, would you believe 5
and sometimes even 10 pound packages!
Preparing the Soil
The first requirement is good soil! Berry plants, as well as any plant, grow best in rich, friable soil with lots of organic matter. I will briefly summarize the basics of prepping your soil in the paragraphs below, but I discuss this in great detail in my article "Gardening Made Easy".
Just follow this link:
Gardening Made EasyBlueberries |
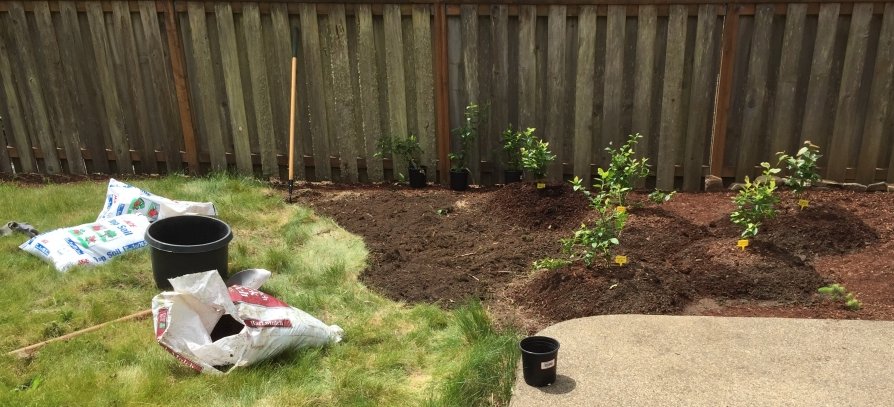 |
So we'll start with the blueberry plants. As you see in the image, the first thing I had to do was
dig up the former owner's grass! (I have an article on this too - "Digging Up Grass" - which you can reach from my "Home"
page.)
Blueberries (and probably almost all plants, given the poor soil that surrounds most homes) like raised beds.
The easiest way to get a raised bed is to create mounds of a topsoil/mulch mixture. I used "Ace Potting Soil" from
Ace Hardware and "Filthy Rich Mulch" (Douglas Fir based), also from Ace. (We don't have Home Depot or Lowes out here on
the Oregon coast!) You should work the underlying soil a bit first, and then mix that soil in with the topsoil/mulch mixture.
This way, the roots don't meet a sudden layer of hard clay soil as the plants grow. Some additional information:
Douglas Fir is the preferred mulch for blueberries.
The soil should be somewhat acidic: pH of 4.5 to 5.5. Using the method described above for creating raised beds should result in an appropriately acidic soil. If the new leaves are yellow on the edges, your soil may be too alkaline. Using "Dr Earth's Acid Lovers" organic fertilizer will help.
Once planted, it is well to add some organic "starter" solution. As discussed in the "Gardening Made Easy" link above, I used a brand called "Start" - a picture of the bottle is shown at the bottom of the Gardening Made Easy page.
Don't forget to water your new bushes frequently! Every other day might be in order. This helps new plants get over transplant shock more easily. A great percentage of planting failures is due to insufficient water right after planting!
Blueberries are self-pollinating, but planting several cultivars will result in larger blueberries.
During the first year after planting, I removed all but a few of the blueberries that sprouted. This allows all the energy to go into growth of the bush (but lets you get a sample of what the berry will be like).
Some cultivars for the Pacific Northwest (I used some of each one). These are all "Northern Highbush" types:
Duke
Spartan
Patriot
Bluecrop
Chandler (These seem to be big, grape-sized blueberries!)
Some links to further information from the University of Oregon:
Growing Blueberries in Your Home Garden
Growing BlueberriesBlueberry Cultivars for the Pacific Northwest
Cultivars
Want the hilarious version? Then read this take on growing blueberries!
Redneck's Guide to Growing Blueberries
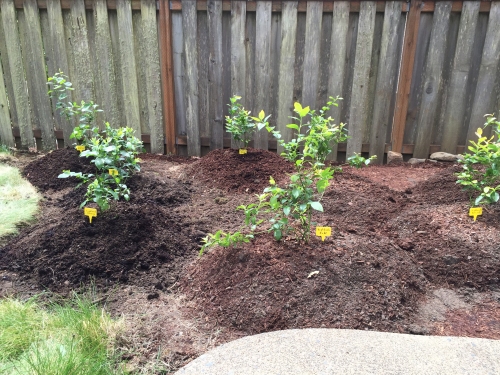
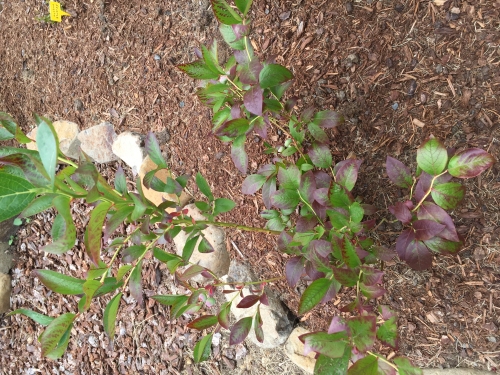
Redneck's GuideA close-up of the blueberry bushes after planting. TIP: If you use plant label stakes, make sure you use a Permanent marker! When Spring arrived this year, I noticed that all the names washed off my stakes during the winter. I had to look at these photos to see the names! |
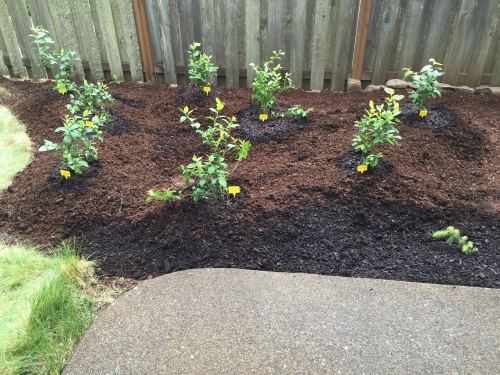
If you don't want to add any kind of border, just toss some extra mulch in the low places between the mounds. Add some flagstones in between some of the mounds for access. |
 |
 |
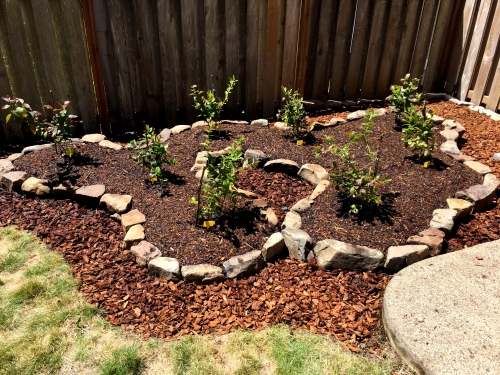
Well, I decided that a rock border would look much nicer. So here's a pile of rocks from the nearby mountains. |
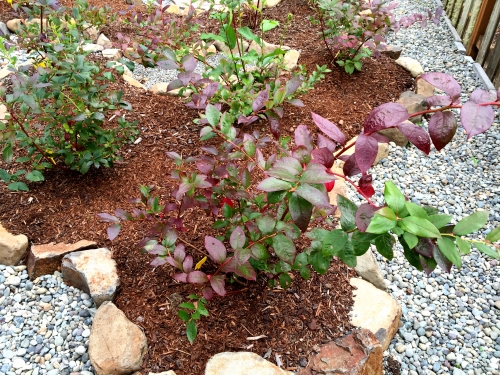
And this is the finished blueberry patch. It is well to top the beds with a layer of mulch. Always top your gardens with
mulch! It retains moisture and keeps the root system cool in hot weather or warm during cold winters. |
 |
 |
During the growing season Water thoroughly once a week during dry periods of the summer, particularly when the berries
are being produced. If possible, direct the water spray toward the base of the bushes, so the foliage doesn't get
wet. Preferably water in the morning or early afternoon, so that the bushes can dry out before nightfall. |
|
Purple leaves. Not quite enough nitrogen. I find it helpful to fertilize a couple times during the growing season. Once in the spring and once more during the summer. Some organic fertilizers I use for blueberries are Jobe "tomato-vegetable" fertilizer (for the extra potash), and Dr Earth "Acid-loving" fertilizer. Leaves will also turn purple after the first few autumn chills. |
I don't have any decent comparison pictures for the various blueberry cultivars yet, since I pruned off
most of the blueberry clusters - even though this is the second growing season for my bushes. The reason
is that I was gone for three weeks in the Spring, and the weather dried out on me. Thus my plants took a bit
of a hit, so I decided to let them put all their energy into bush growth instead of fruit production. |
 |
 |
Here are some Bluecrops. These (based on my limited experience as of yet) were the biggest (other than the giant Chandlers!) |
And here's some Dukes. These were the smallest. |
 |
 |
Here's some Chandlers. This is the first growing season for these bushes (I bought them this year). So I kept only a very few berries. But they were quite big - about the size of grapes! We'll see next year. |
If you want to, you can cut off a berry cluster and bring it inside. They will actually ripen in a few days - though they don't taste as good as vine-ripened ones. |
 |
 |
Here's the other example of purple leaves. It's late September, and there have been some nights in the lower 40s. So the bushes have lots of purple leaves. |
 |
Strawberries
Next up are the strawberries. If you want a berry plant that's essentially effortless to grow, it's strawberries!
A link to further information from the University of Oregon:
Growing Strawberries in Your Home Garden
Growing StrawberriesPlanting
As with blueberries (or virtually any other plant!), a raised bed with a mixture of good topsoil and mulch will
yield healthy, prolific plants. In the case of strawberries, instead of individual mounds of the topsoil/mulch mixture,
just make a raised row, say maybe 2 feet wide and as long as you want. Leave space between rows to allow for
access when picking.
Some additional information:
Strawberries prefer a soil pH between 6 and 7.
Once planted, it is well to add some organic "starter" solution, as discussed in the blueberry section above. And don't forget to water your new plants every other day or so.
Strawberries, like raspberries, are sensitive to excessively wet soils (once established). So the raised beds are essential.
Removing any new strawberry flowers for a month or two will help the plants get started, by reserving all the growth energy to be directed toward plant growth.
Strawberry types and cultivars:
Junebearing Produce one crop per year in June-July
Everbearing Produce two crops per year; one in June-July and the next in the fall
Day Neutral Produce crops from June until fall
I planted "Tristar" cultivar (day-neutral) and "Totem" cultivar (June-bearing). I have no idea what the difference is in actual growth and production! Why? See the pictures below! Within minutes, they all grew together in one big mass. OK, would you believe a few weeks?
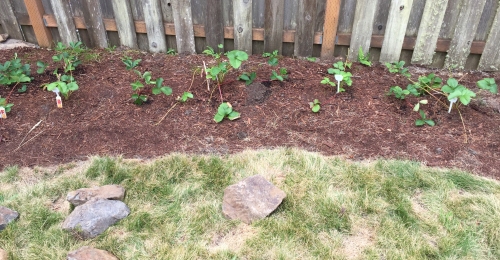
I have prepared a raised bed using the topsoil/mulch mixture |
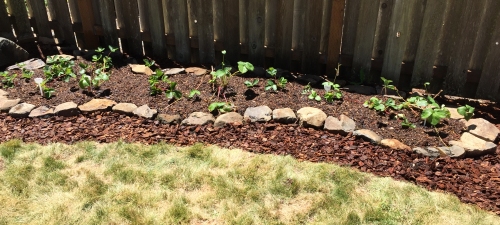
As with the blueberries, I decided to add a rock border around the strawberry bed. |
 |
 |
During the growing season Water thoroughly once a week during the growing season, particularly during time of strawberry production. Actually, the leaves of established strawberries are so dense, you might get away with once every 1 1/2 to 2 weeks. Just test the moisture level of the soil from time to time. I just poke a bare finger into the soil. |
|
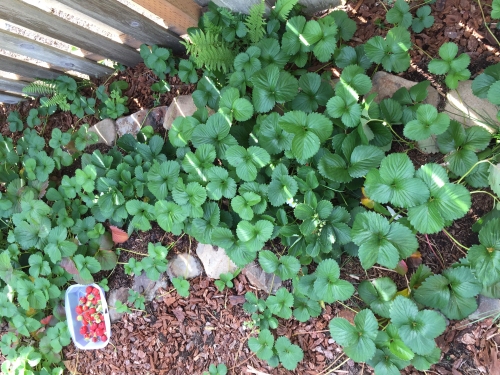
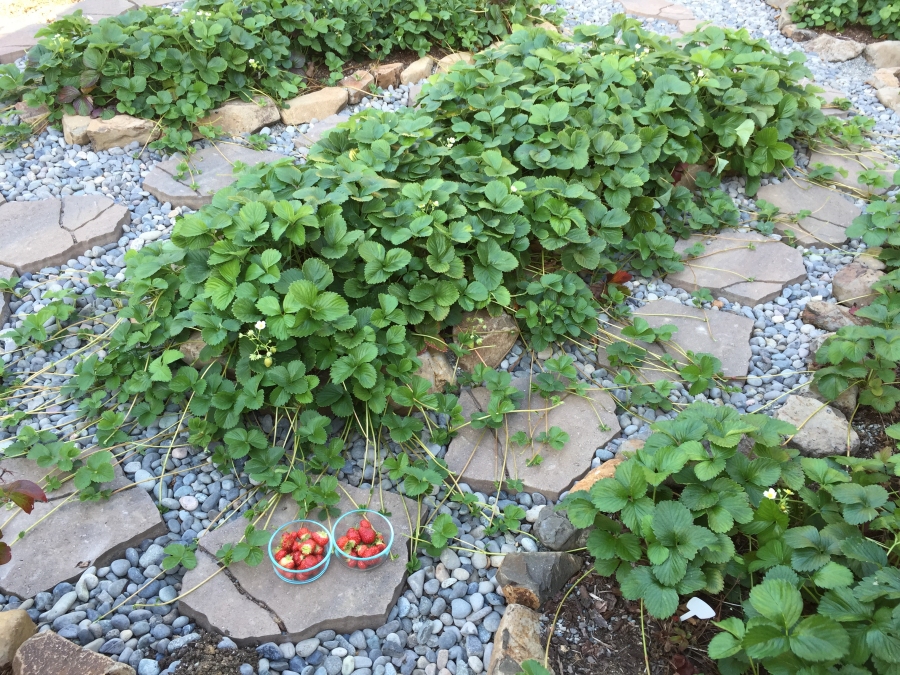
I planted the strawberries in July (2017). By October, I was still picking strawberries (notice the filled plastic lid). Also the bushes had filled the bed by way of their numerous rhizomes (runners) and "daughter" plants. They had even mounted a breakout, so that the area surrounding the bed was also covered in strawberies. |
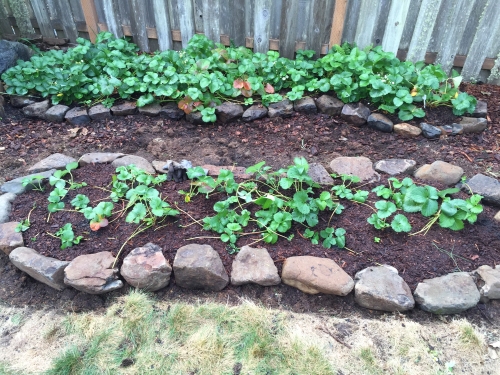
So I created another raised bed and transplanted most of the extra strawberry runners and
smaller plants into the bed. |
 |
 |
Time for some fertilizer. |
Strawberry picking tip. |
 |
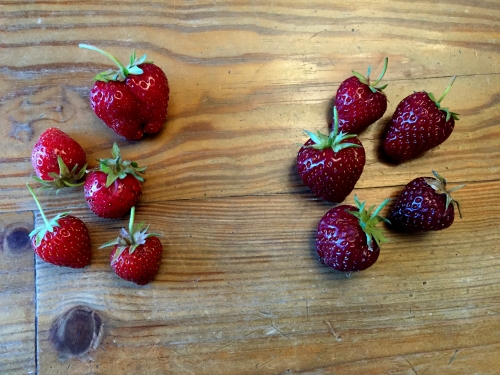 |
Boatloads of Strawberries! This picture shows my strawberries as of September 2018 - their second growing season. (Gasp!) This may be my last transmission. They've made it into the house! No! No! NO! AArrrggghhh!! |
 |
And finally, raspberries.
I didn't try various cultivars on raspberries. Frankly, while looking for blueberry plants, I found two 2 1/2 gallon
"Raspberry Shortcake" raspberry containers at Home Depot, and thought "Well why not try some raspberries too?"
This particular cultivar is a thornless raspberry, and it performed quite well.
Raspberries require soil a bit less acidic than blueberries. Raspberries want a pH between 5.5 and 6.5. Some sources show between 6.0 and 6.8.
Once planted, it is well to add some organic "starter" solution, as discussed in the sections above. And don't forget to water your new plants every other day or so.
Raspberries are sensitive to excessively wet soils (after being established). So raised beds are essential.
Plant raspberries in and area with extra space surrounding the bush. Why? Because raspberry plants put out rhizomes (underground stems) from which more raspberry bushes sprout. You can dig these up and transplant them nearby if you want to.
I removed most of the raspberries from the new plants during their first year of growth after planting.
Some links to further information from the University of Oregon:
Growing Raspberries in Your Home Garden
Growing RaspberriesRaspberry Cultivars for the Pacific Northwest
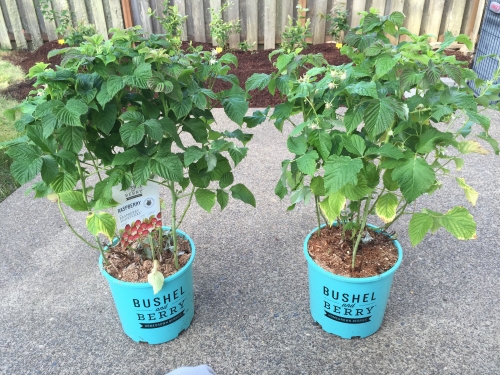
CultivarsHere's the two "Raspberry Shortcake" containerized plants. They look like they could use a bit of nitrogen. When you use the starter solution after planting, this should take care of that. |
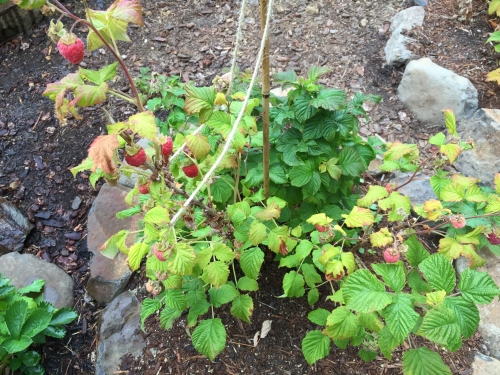
Here they are planted in my customary raised topsoil/mulch mounds. Somehow they look greener already! |
 |
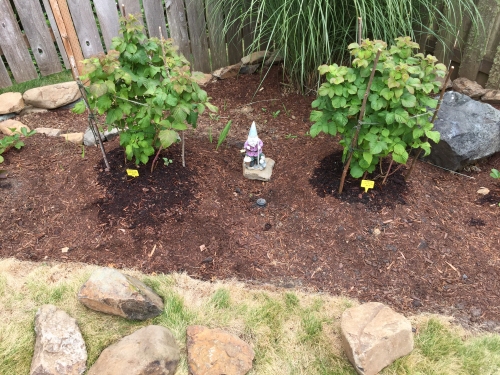 |
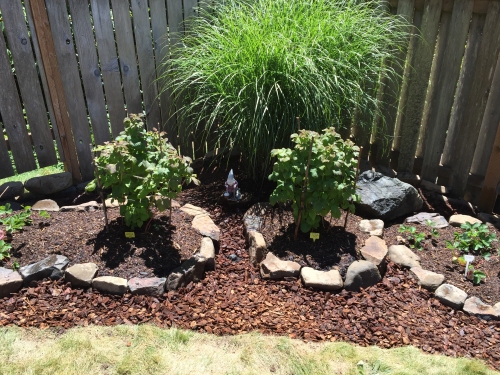
I added the rock border. Strawberries can be seen on the right in a separate raised bed, as well as more on the left. I actually made one continuous border around the strawberries and the leftmost raspberry plant. |
 |
During the growing season Water thoroughly once a week during dry periods of the summer. Raspberry plants seem to dry out a bit quicker than blueberry plants, so keep an eye on them. |
|
The stems of raspberry plants are referred to as "canes". "Primacanes" bear raspberries
during the first year, and "Floricanes" bear raspberries during subsequent years. |
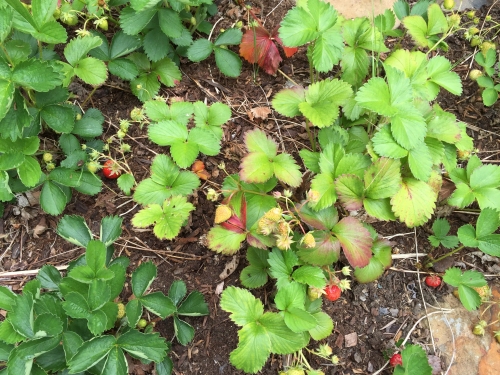
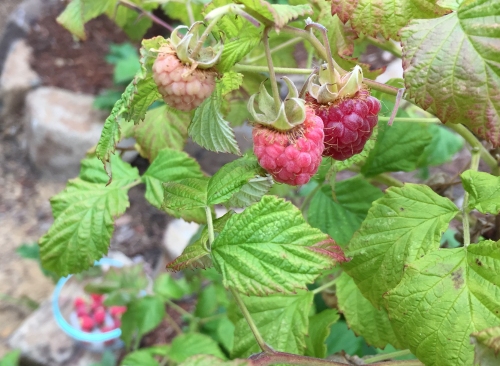
As with strrawberries, wait until the raspberry turns a bright crimson before you pick it. So pick the one on the right in this image. |
 |
 |
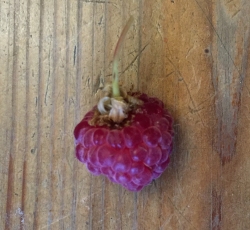
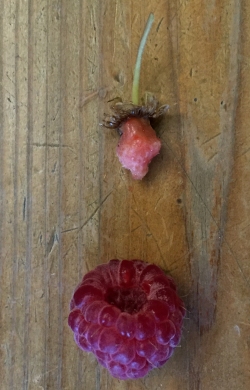
Raspberry picking tip: |
 |
 |
Copyright © 2018 J.A.