In this section, I will show you how you will achieve "Green Thumb" status. In other words, what does it take to grow vigorous, lively opulent plants that will have your neighbors asking 'How'd you do that?' It's really not that hard. All you need to do is follow these guidelines:
Start with some rich, fertile soil. How? By buying it!
Raise the bed a bit above your existing soil.
Use root stimulator or plant starter solution on all new plantings.
Don't forget to water your new plants frequently! Every other day might be in order. In hotter, climates, if you planted something during the summer, it might be necessary to water every day. This helps new plants get over transplant shock more easily. A great percentage of planting failures is due to insufficient water right after planting!
Periodically add a natural fertilizer.
Start with the soil. This is priority one! |
|
|
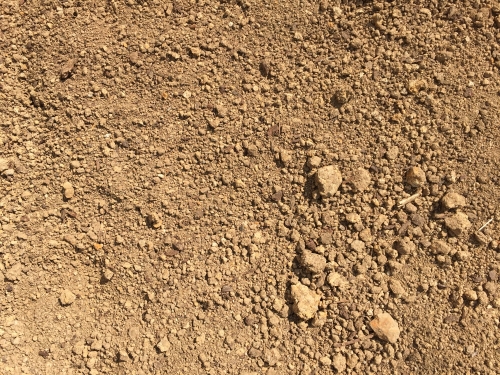
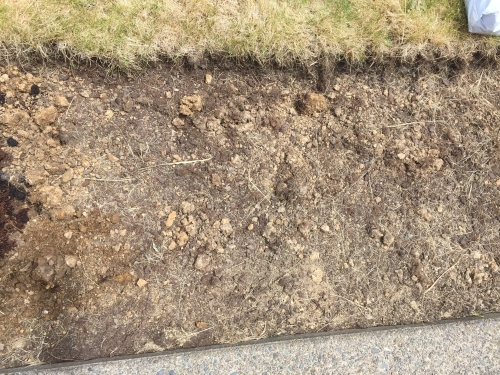
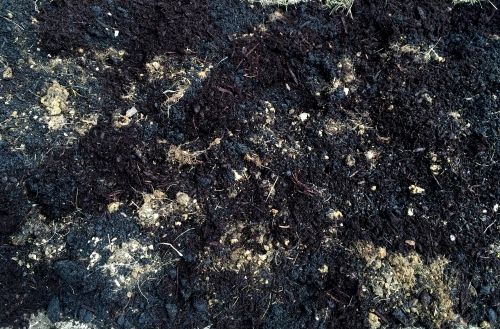
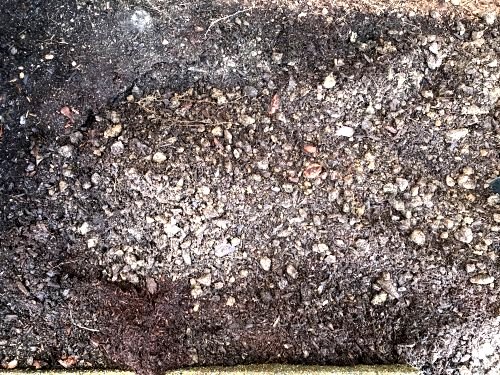
Does your soil look like the surface of Mars? Here's mine, shown on the right. The Mariner Rover can't
be very far away! |
 |
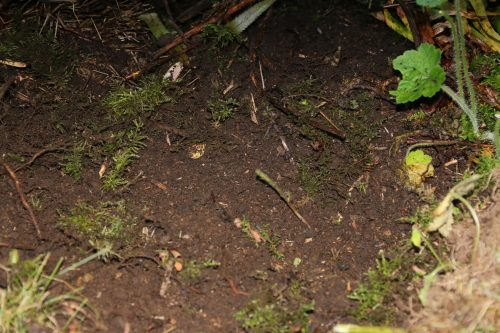
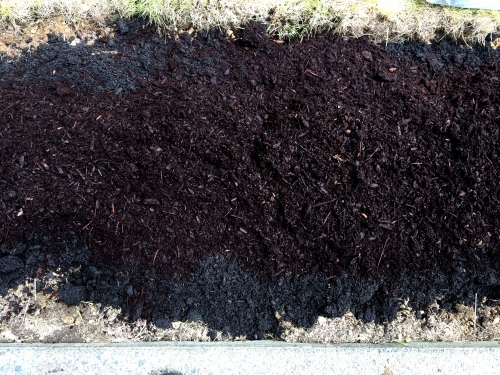
At the other extreme, here is some incredibly rich soil from the forest behind our yard, the result of soil microbes breaking down leaves, twigs, and who knows what else, for years. |
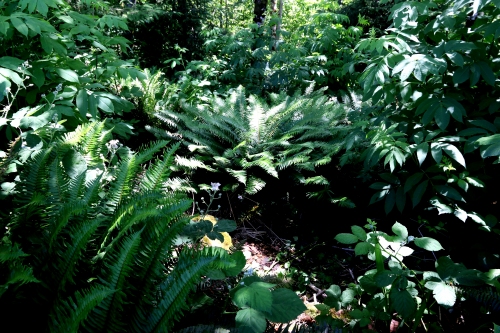
And here's the riotous growth that rises out of that kind of soil! |
 |
 |
So we want something in between. The goal is to have soil that is rich, friable, and full of
lots of organic matter. This automatically assures you of having a medium that plant roots can easily penetrate
and that also is high in microbial life.
Your soil should pass the following test: You should be able to plant things in it with your bare (or
gloved) hands! (OK, maybe a small garden trowel for bigger plants.)
So we will show three examples of "gardening made easy":
Example 1: Planting a border of small flowers around a patio.
Example 2: Planting two blueberry bushes in a slightly raised garden with a rock border.
Example 3: Planting small trees
Big time tip!! |
Use this | 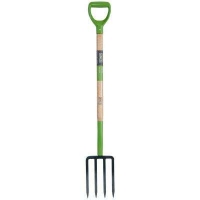 |
Not this | 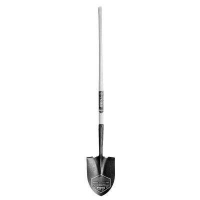 |
Why? Because the fork is MUCH easier for digging hard clay soils than a shovel. |
Example 1: Small plants bordering a patioI purchased some small plants to place around a concrete patio: Some white allysums and some multicolored lobelias. |
|
I have already dug up the former owner's grass (NOT easy!) So what you see here is the standard issue sterile clay with hard clods. |
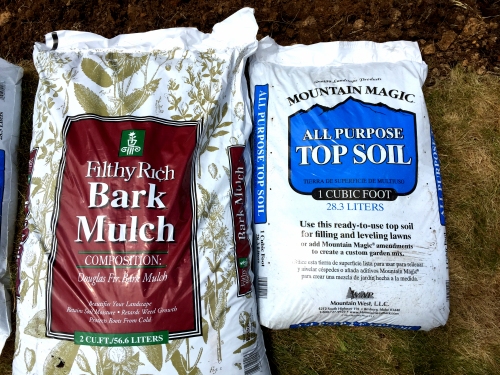
Here's the two types of soil materials that I bought for these garden projects. Remember, as
I mentioned above, the easiest way to get good soil is to buy it! I could have dug some soil up from the forest
behind my yard, but there might be weed seeds and/or insects in it. |
 |
 |
I have added one bag of the top soil (which has a decent amount of organic matter, as well as some sand). Also I spread some of the mulch on top. |
It is necessary to turn over the amendments with the original soil. This loosens the original soil and mixes it with the organic matter. This way the plant roots won't have a sudden transition between spectacularly rich soil and hard clay. |
 |
 |
So here's the border, almost complete. And yet. . . |
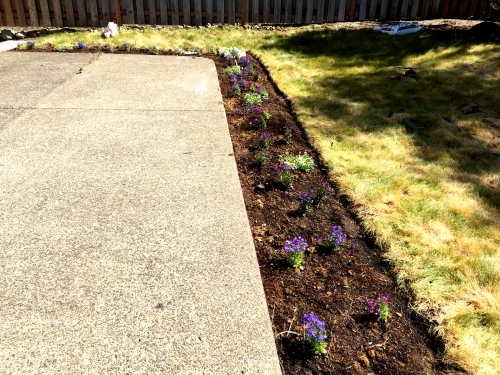 |
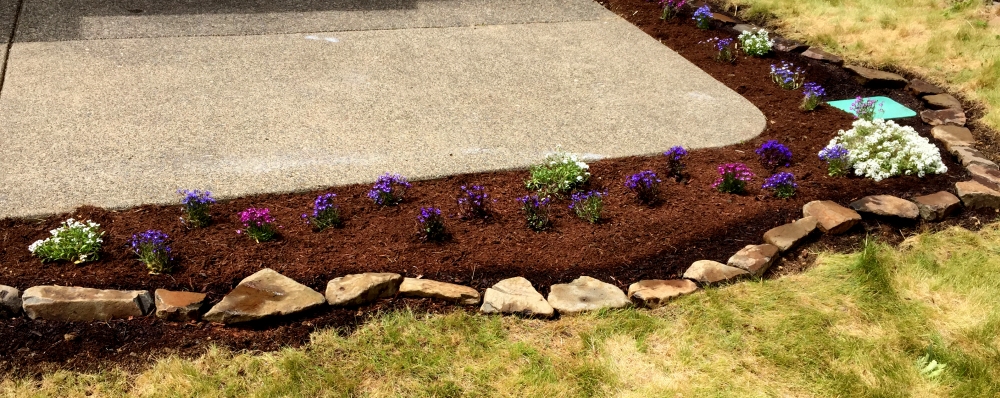
Well, I decided that my border would be a lot more scenic if I added a rock outline.
(When you live in a mountain state, rocks are easy to come by.) Note that borders are much more interesting
if you "meander" the edges. |
|
 |
|
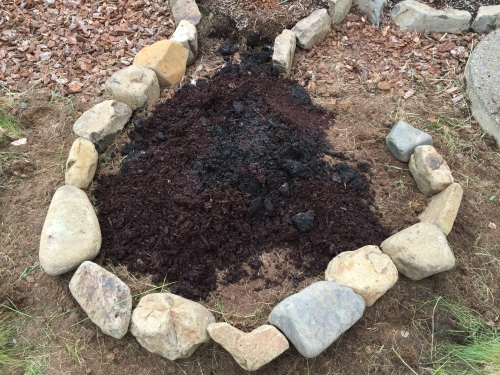
Example 2: Blueberry plants in a raised bedI bought two new blueberry plants this spring and wish to extend an existing raised bed to accomodate the two new bushes. |
|
I have cleared the %@^$#@** grass in preparation for extending the existing raised bed and adding the two new plants, |
I worked the existing soil a bit and then added some topsoil and mulch, along with a new rock border. |
 |
 |
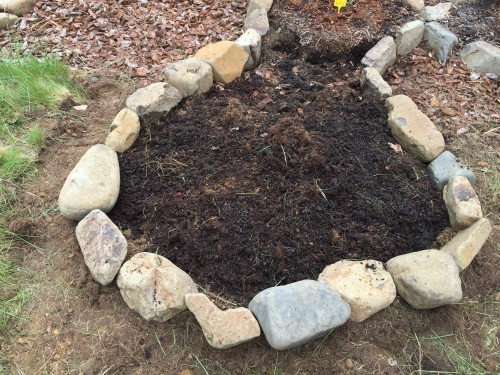
Here the existing soil has been mixed with the soil amendments, to a depth of about 8 - 10 inches. |
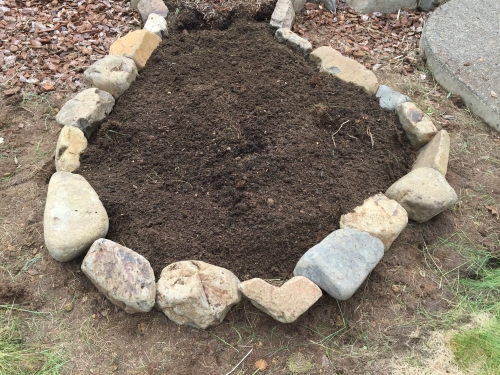
Prior to planting, I added some more mulch and topsoil and lightly mixed it in a bit further. |
 |
 |
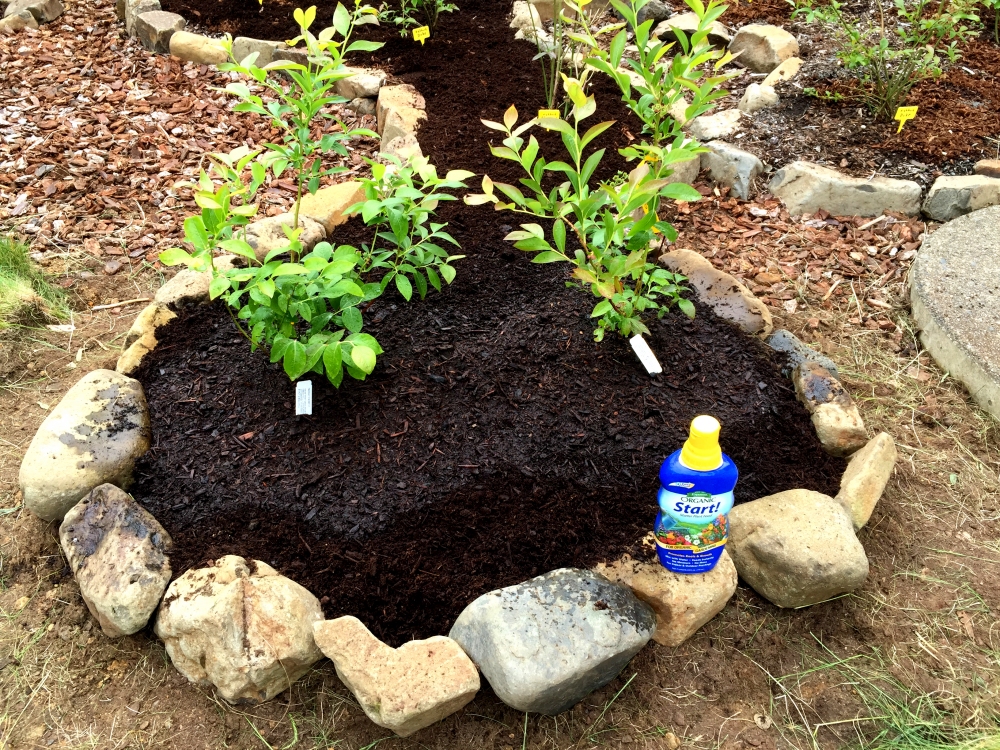
Here's the two new plants, with a nice top layer of mulch. Shown here
also is one brand of planting starter (sometimes called "root stimulator"). As an alternate to starter solutions, you can also just mix in some natural type fertilizer with the soil you are placing around the plant. Two brands are "Dr. Earth" and "Jobe". These types of fertilizer are not as concentrated as "chemical" fertilizers, and they usually have beneficial soil microbes as well. And, speaking of transplant shock, if you notice a lot of roots on the surface of the planting media when you take the plant out of its container, loosen these roots, even removing any excessive roots, especially if they circle the planting media. (This is called "girdling roots".) |
|
 |
|
Example 3: Dwarf Alberta Spruce in Some Really Rotten ClayIn the above examples, I have shown examples of planting bushes and smaller
plants by building a raised bed and creating a mini-environment of rich soil over a somewhat wide area. Dig a really big hole Raise the level by making a mound You are in effect making each tree into a "potted plant", with a 2-3 foot wide container within the otherwise dessicated soil your homebuilder left you. |
|
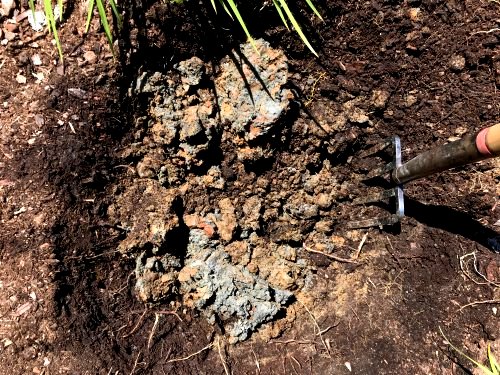
So I have dug down about 8 inches or so and I have already hit a rocky clay. It's typical to find a lot of rocks and concrete bits right next to your home's foundation.. The rich looking topsoil around the edges is about 6 inches deep. |
This image shows some even worse soil further out in the front yard. About 8 inches down is thick, viscous - albeit quite colorful - clay. Yes, in both of these cases, you could simply shove the poor plant down into these types of soils and call it a day. But the result would be trees that grow an inch or two each year - or they just might call it a day on you and not make it! |
 |
 |
So I'm about 2 feet wide and 1 1/2 feet down, and I have added some of the Ace topsoil mixed with some of the Bark Mulch, and mixed these amendments with the original soil that came out of the hole. I have pitched most of the rocks! I have also turned up the soil around my hole and mixed the amendments into that. Thus I have created an area approximately 3 feet in diameter of this enriched soil |
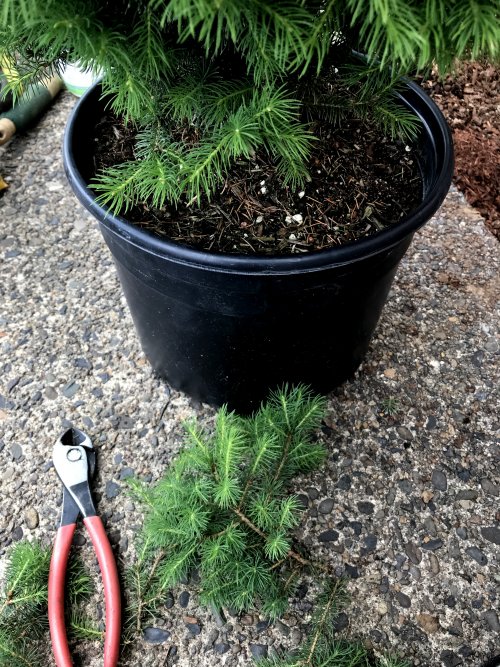
Prior to planting any tree or bush, cut any lower branches that would contact the soil. This helps prevent insects from climbing into the plant later. |
 |
 |
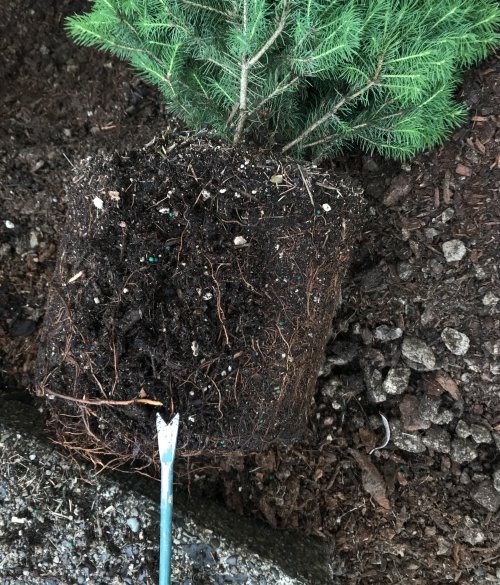
On any containerized plant, rough up the outer edges to remove or loosen roots that have collected around the edges, expecially if the roots have "girdled" around the edges. This may seem too hard on the plant, but is actually very beneficial. New roots will quickly form and the plant will recover from "transplant shock" much sooner. Also loosen up any roots that are on the bottom of the previously potted mass. |
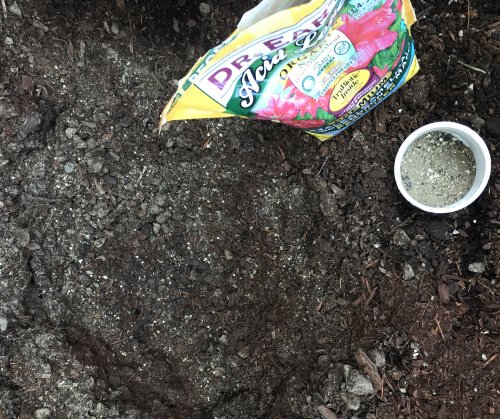
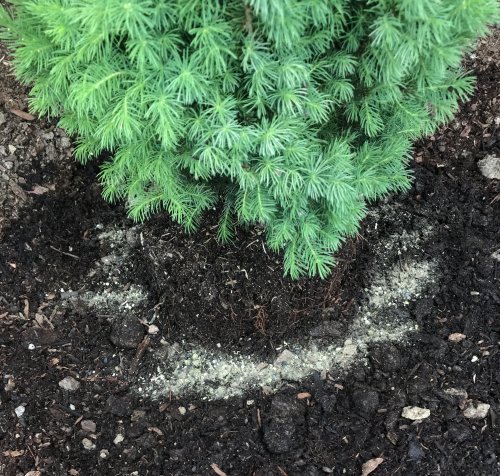
As an alternate to using "starter solution", you can add some natural fertilizer into your amended/native soil mixture. Chemical fertilizers would be too strong for this purpose. In this case, I am using "Dr Earth's Acid Lover's" fertilizer, which slightly acidifies the soil - good for conifers like the Dwarf Alberta Spruces. These types of natural fertilizers usually also have beneficial soil microbes mixed in. |
 |
 |
Set the tree into your soil mixture, leaving about 4 inches sticking out. This is
because the intention is to mound the soil mixture above the grade a bit. In other words, the plant is going
to end up on a mound that is above the original soil surface. |
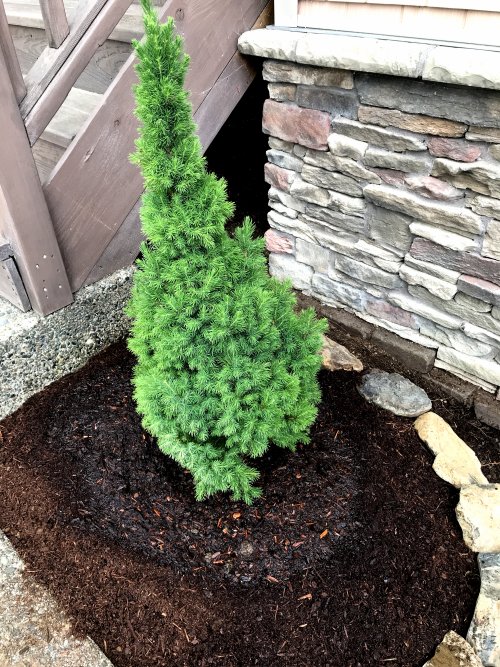
And we top off the whole thing with some mulch. Mulch is perhaps the most important ingredient of all, since it will keep the roots cool during the warmer months, retains moisture, and eventually provides extra nourishment as it breaks down during the season. |
 |
 |
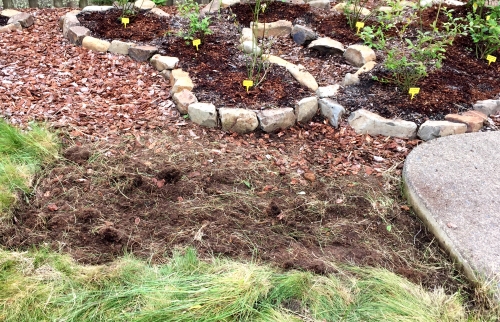
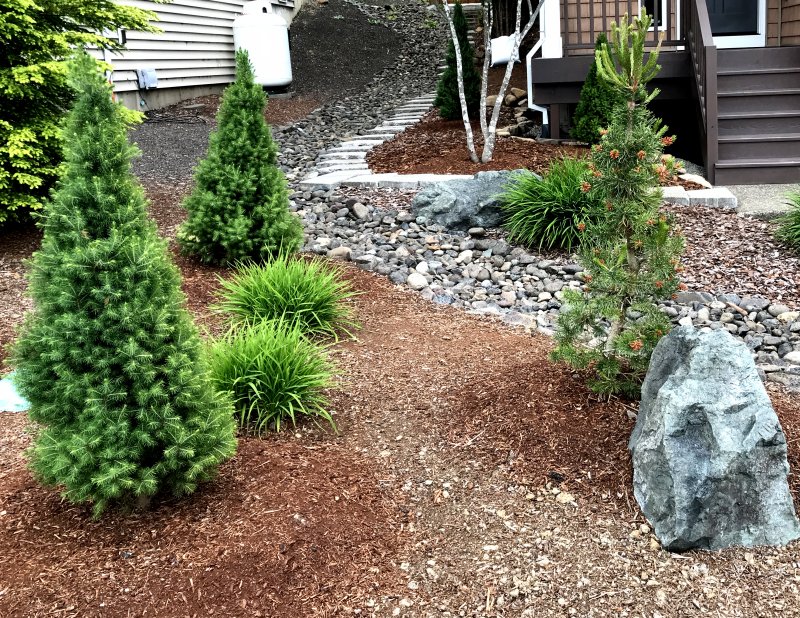
Here's a picture of several trees that I have planted using this method.
There are two Dwarf Alberta Spruces on the left and a shore pine on the right (the grasses were already there,
and you can see two more Spruces towards the back by the house). Notice that all three trees are planted in
mounds that are above grade - to compensate for the lack of good soil below about 8 inches - as described in
the section just above. |
|
 |
|
Copyright © 2021 J.A.