"Hardenening up" your Patio Door
1 The two longer screws are for the locking plate which attaches
to the frame. I decided to use two slightly longer screws, for a better chance of reaching into the stud.
|
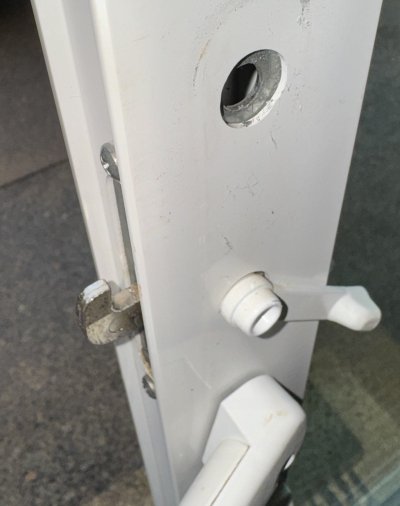
2 Some notes before you drill anything:
Remove the top screw of the existing handle, and loosen the lower screw so the handle can swing out of the way.
This allows you to do two things:
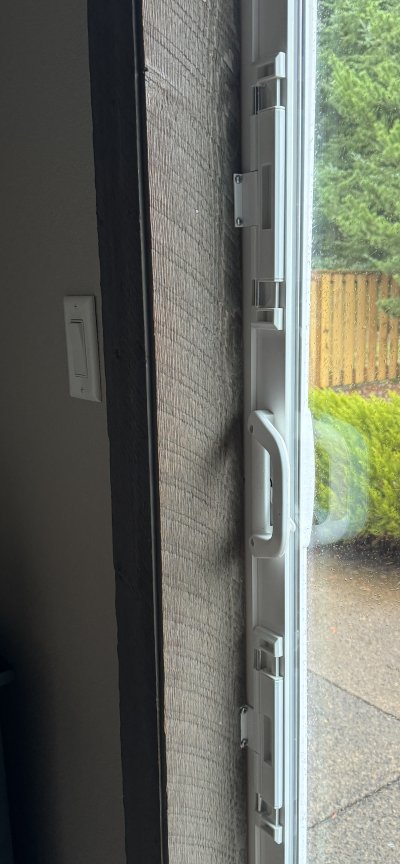
You can see that, in the case of this vinyl sliding door, there is actually metal underneath the
vinyl to reinforce the door. This will help you understand WHY it's taking so long to drill the holes!
You can shine a light into the opening and see how far the glass extends into the door frame.
This is is very important! If you strike this glass, it will likely shatter. The information that I have from other
sources shows that the glass typically extends about 1/2 inch into the frame.
|
3 Remove the front plastic cover from
lock assembly, by inserting a small screwdriver or a knife at the top of bottom and prying the cover
off.
The kit comes with three sizes of locking plates. To determine which one to use:
"Lock" the lock assembly into each of the three locking plates to see which one would result in the
four holes being as far away from the frame edge (where the glass is) as possible. In this picture the four holes
ended up being about 3/4 inch from the right edge of the door frame.
|
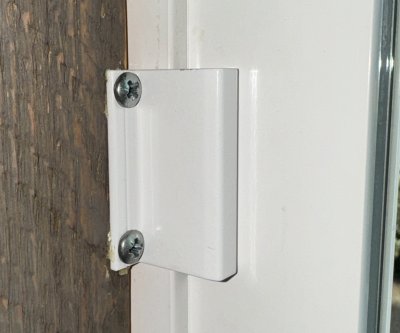
4Here is the locking plate already installed with the two
longer screws.
|
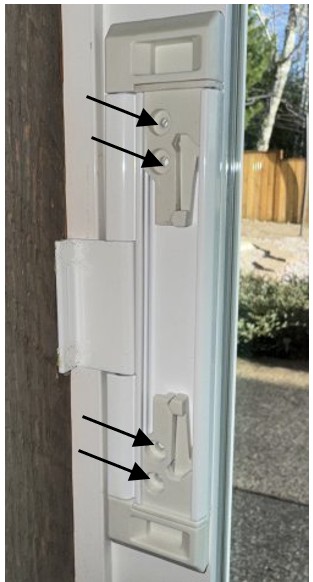
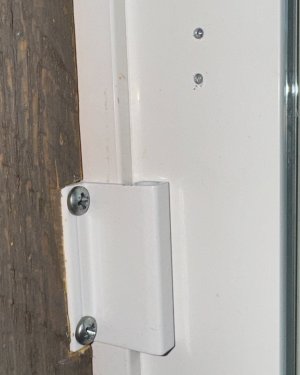
5 Here we show the top two holes in the door frame.
Note that they are about 3/4 inch from the right edge of the frame.
|
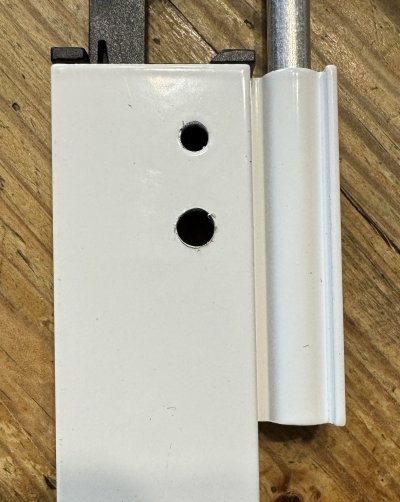
6 Before attaching the lock assembly,
enlarge the four holes in the lock assembly. We show one enlarged here.
Why? Because when you attach an object to a surface or another object, you want the holes in the
attached object to be bigger than the screw you are about to use! Otherwise the object won't tighten; the screw
will end up threading both the object and the surface, and the object won't pull up tightly.
But the main thing is: you want some slop! This is because the holes in the surface may not
quite match up. Drill bits wander when you drill.
Further, you want the lock assembly to have room to move a bit if necessary. Leave the lock assembly
loose and try to lock it. If you have already tightened the lock assembly, it may not quite line up with the lock
plate. Lock it first and then tighten the lock assembly. If it's hard to engage the lock, you can even leave the lock
assembly slightly loose, so it can "float".
|
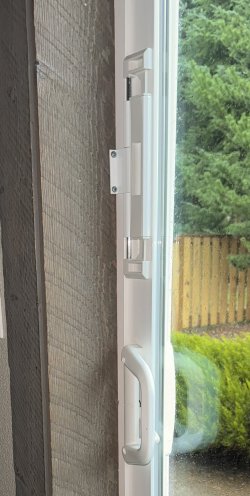
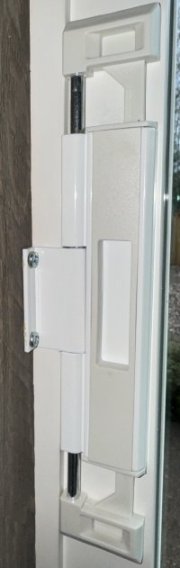
7Here's the finished Toughbolt Lock, unlocked
|
8 Here it is, locked. Note that the close fit
of the lock to the lock plate should make it harder to pry the door out of its tracks.
Adding a pin on the other side of the sliding door or adding spacers above the door should make it even more
difficult to do so.
Or, you can add another Toughbolt like I did - see below!
|