If you like gardening, and live in a cooler climate, you might try growing your own strawberries.
Compared to other berries like blueberries or raspberries, strawberries are the easiest to grow and are the most prolific.
You will likely find this more "doable" in a cooler climate. Berries grow great in cooler climates. So If you live in
a state where summer days start in the upper 70s and go up from there, you would do best to buy your
berries instead!
So, this article is based on my experience with growing berries in Oregon, which is a big "Blueberry State". But
my experience is that strawberries grow here so readily that they're almost like an "invasive" plant.
Planting
As with blueberries (or virtually any other plant!), a raised bed with a mixture of good topsoil and mulch will
yield healthy, prolific plants. In the case of strawberries, instead of individual mounds of the topsoil/mulch mixture,
just make a raised row, say maybe 2 feet wide and as long as you want. Leave space between rows to allow for
access when picking.
The "raised bed" and rich soil thing is really quite easy to do. I have more detail in my "Growing Blueberries"
article, which can be reached from a link on my "home" page.
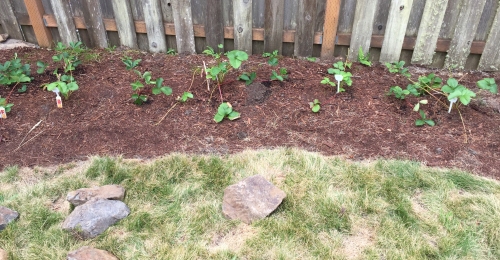
I have prepared a raised bed using a topsoil/mulch mixture. Anybody's
good quality topsoil and mulch will do. I used "Ace Potting Soil" from Ace Hardware and "Filthy Rich Mulch" (Douglas
Fir based), also from Ace. (There's no "big box" home improvement centers out here on the Oregon coast.) |
As with the blueberries, I decided to add a rock border around the strawberry bed. I started with about 20 or so plants. They look innocent enough here, don't they? Hah! |
 |
 |
Some additional information:
Strawberries prefer a soil pH between 6 and 7.
Once planted, it is well to add some organic "starter" solution, as discussed in the blueberry section above. And don't forget to water your new plants every other day or so.
Strawberries, like raspberries, are sensitive to excessively wet soils (once established). So the raised beds are essential.
Removing any new strawberry flowers for a month or two will help the plants get started, by reserving all the growth energy to be directed toward plant growth.
Strawberry types and cultivars:
Junebearing Produce one crop per year in June-July
Everbearing Produce two crops per year; one in June-July and the next in the fall
Day Neutral Produce crops from June until fall
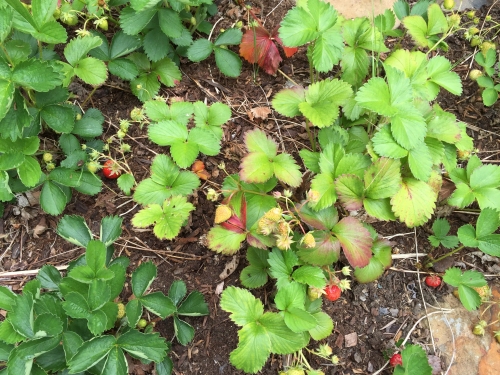
I planted "Tristar" cultivar (day-neutral) and "Totem" cultivar (June-bearing). I have no idea what the difference is in actual growth and production! Why? See the pictures below! Within minutes, they all grew together in one big mass. OK, would you believe a few weeks?
A link to further information from the University of Oregon:
Growing Strawberries in Your Home Garden
Growing StrawberriesDuring the growing season Water thoroughly once a week during the growing season, particularly during time of strawberry production. Actually, the leaves of established strawberries are so dense, you might get away with once every 1 1/2 to 2 weeks. Just test the moisture level of the soil from time to time. I just poke a bare finger into the soil. |
|
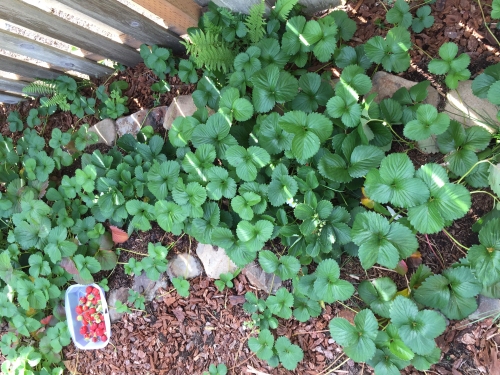
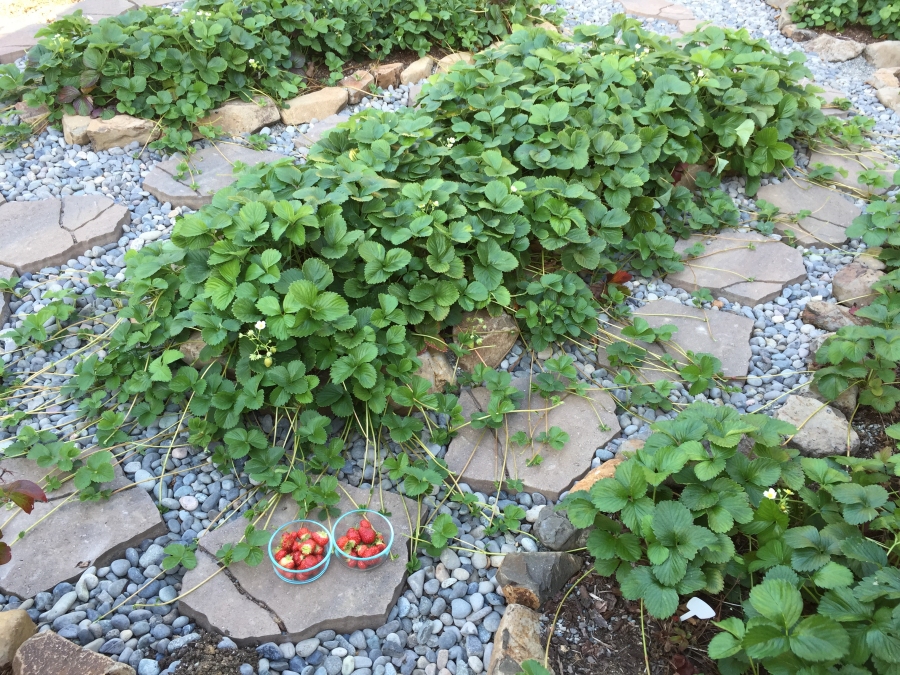
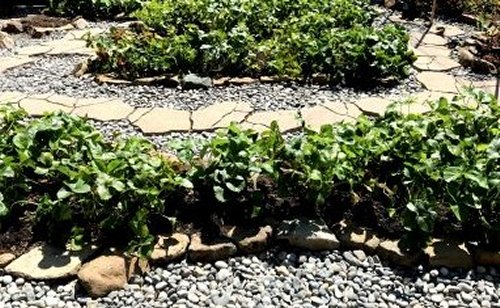
I planted the strawberries in July (2017). By October, I was still picking strawberries (notice the filled plastic lid). Also the bushes had filled the bed by way of their numerous rhizomes (runners) and "daughter" plants. They had even mounted a breakout, so that the area surrounding the bed was also covered in strawberies. |
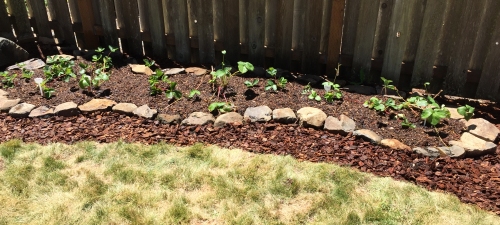
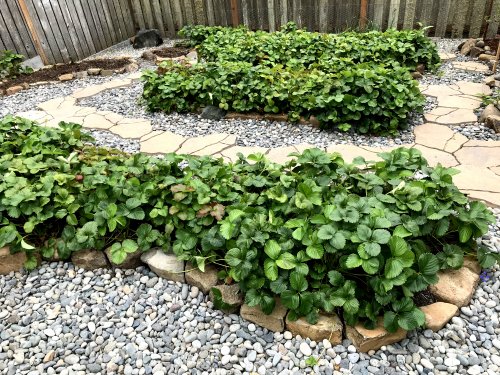
So I created another raised bed and transplanted most of the extra strawberry runners and
smaller plants into the bed. The original bed is in the back. |
 |
 |
Time for some fertilizer. Jobe's "Vegetable and Tomato" or Jobe's "Berry" granular fertilizers work fine. Or try Dr. Earth's "Tomato, Vegetable, and Herb", or "Premium Gold". Dr Earth's "Acid Lovers" fertilizer would be good for blueberries, but is a bit too acid for strawberries. Why "Vegetable and Tomato" type fertilizers? Simply because they have good amounts of all three
types of nutrients - nitrogen, phosphorus, and potassium. Fertilizers with only nitrogen encourage foliage
growth at the expense of root and fruit growth. |
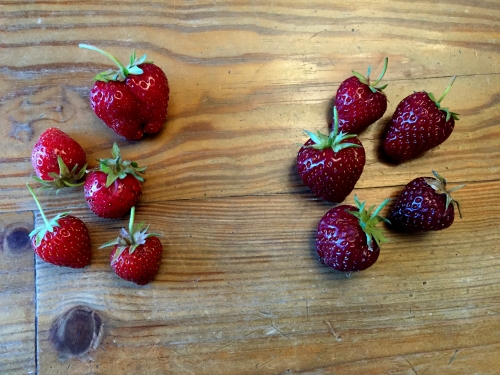
Strawberry picking tip. |
 |
 |
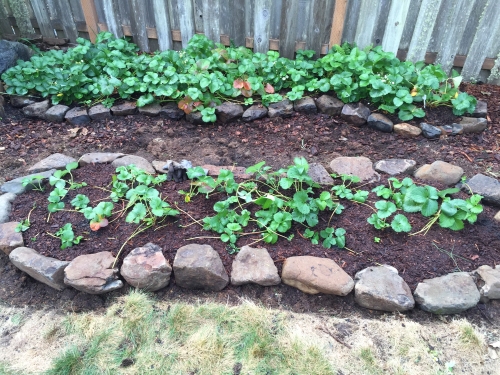
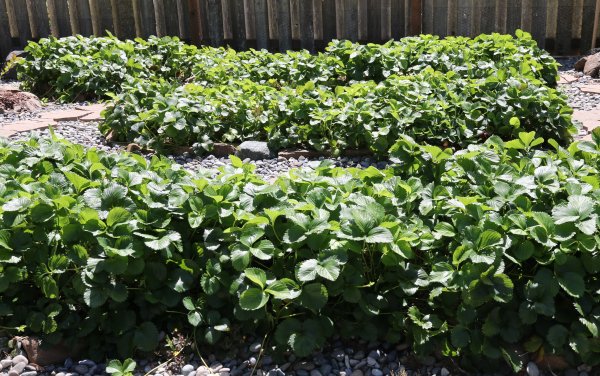
Boatloads of Strawberries! This picture shows my strawberries as of September 2018 - their second growing season. (Gasp!) This may be my last transmission. They've made it into the house! No! No! NO! AArrrggghhh!! |
 |
Sometime in the fall, it would be well to thin out your strawberries. This will encourage new growth and
fresh plants next spring |
Try to remove the mature plants. and leave the fresh new ones. This picture is after I thinned them out.
I have an empty 20 gallon plant container. I filled it four times with the excess plants. |
 |
 |
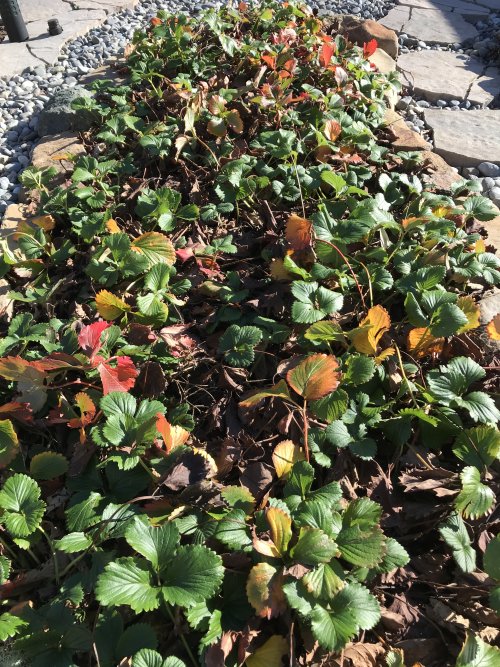
So what do strawberries look like in winter? They look like this! Some of the leaves turn red or
yellow, but they don't lose their leaves in the winter, and can handle temperatures below freezing. Note that
I am talking about the Oregon coast here; So "below freezing" meant upper 20s. |
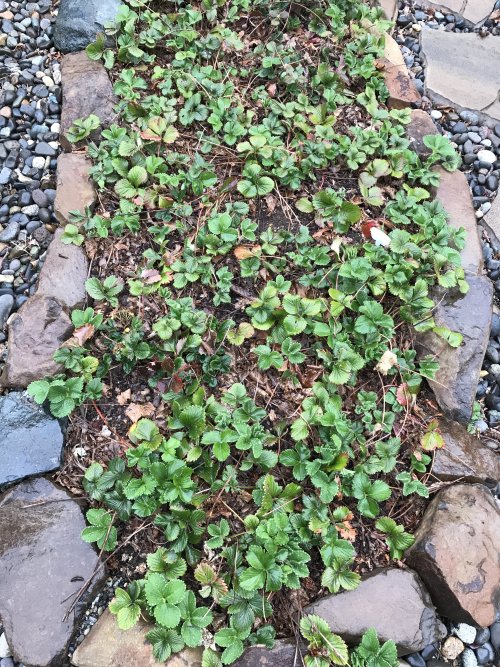
By April, they began to perk up and turn all green. |
 |
 |
A couple of extra notes: Water: |  |
Want bigger strawberries? |
Another note about fertilizer: |
 |
 |
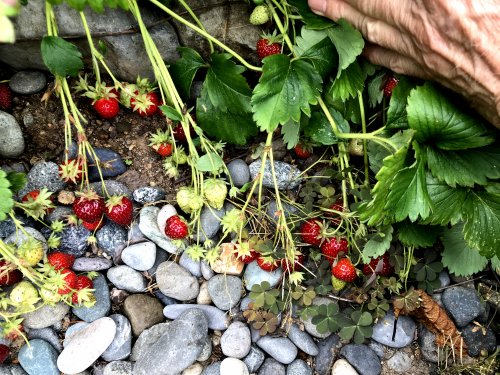
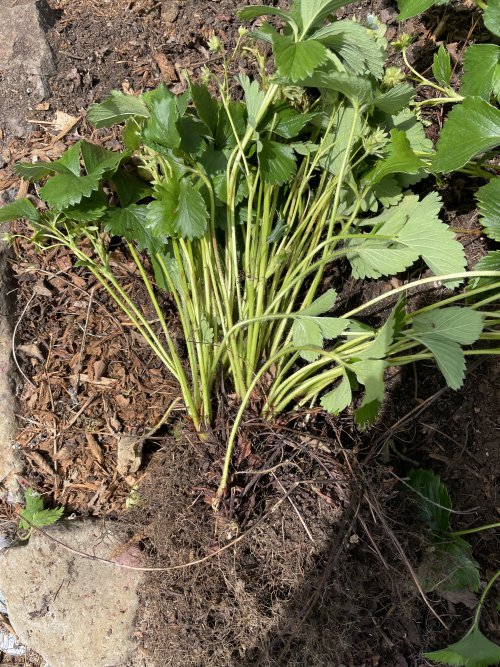
When it's time to quit. The strawberries produced were smaller, and not nearly as tasty. Many of them were deformed. The plants weren't producing the copious runners. As with any single crop, the time comes when the soil becomes
exhausted of the nutrients which that crop needs. Applying the rich organic fertilizers - even the ones with
extra soil microbes - does not seem to sustain the crop. Further, each clump of plants simply becomes too crowded, so that many plants are trying to draw nutrients
from too small an area. See the picture on the right. I have pulled up one clump of plants and laid it on its side
for the picture. It's simply too hard to separate tight bunches like this like this until only one
plant is left. And, virtually all the plants in the original bed have become clumped up like this one. |
 |
Copyright © 2022 J.A.