I wanted to create a new raised garden bed in my yard this summer, and decided to "document" it.
So here's the steps to build your own raised garden bed.
A raised garden bed confers several big advantages:
If you have lousy, hard clay soil, it's easy to simply add some good soil right on top of it. Do note that you should still mix the new soil with the existing dirt underneath it, for reasons explained below.
Many plants want well-drained soil. A raised bed provides this.
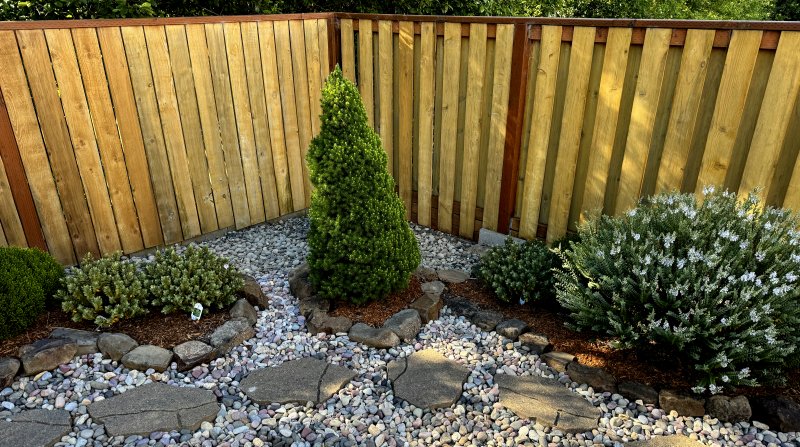
The raised bed adds interest to the general landscape, especially if you add some sort of border to it.
I already have created several raised beds in the back yard - one for blueberries, one for a Shore Pine,
and the rest for Hebe plants, along with some Dwarf Alberta Spruces. I actually have a separate article on Hebe plants which
gives details on these delightful shrubs. The link is on the home page. |
 |
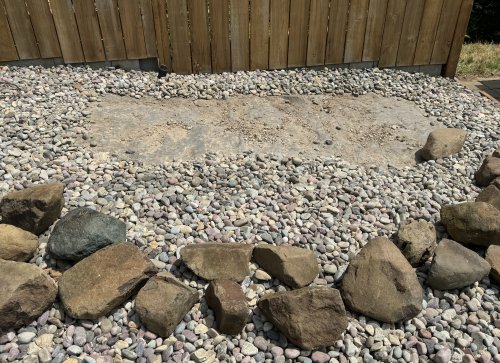
In my case, I had already covered my yard with "Pond Pebbles". (I will have a separate article on this
shortly.) So raked them up and at the same time established a rough outline for the raised bed. Landscape timbers (be sure to interlock and nail them - they warp easily.) Rough lumber. Bricks, blocks, and the like. I think the most natural appearance and beauty is created by using big rocks. I collected some from the nearby mountains and placed them here. It's nice to have them all spread out before you start. You can then more easily judge how to place them together for best "fit". |
I had actually put down some weed block. So here I have cut out the outline, leaving some of the weed block to place the big rocks on. |
 |
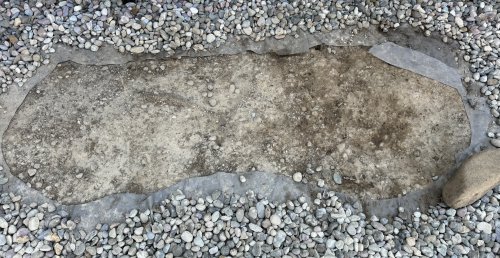 |
If you do have grass, be absolutely sure to dig the grass up where the rocks go, so that you are
placing the rocks on bare soil and not the grass. |
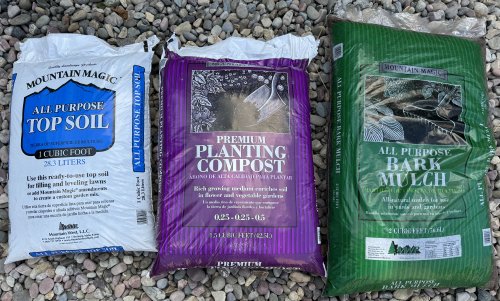
For most soils, you will need to add soil amendments. Most dirt around houses is pretty hard/barren/sterile. The builder has usually removed the good topsoil prior to building. Here are the three I have chosen. |
 |
 |
Prior to adding amendments, work up the existing soil. You will later be mixing this
soil with the amendments. A forked tool is MUCH easier than a shovel. |
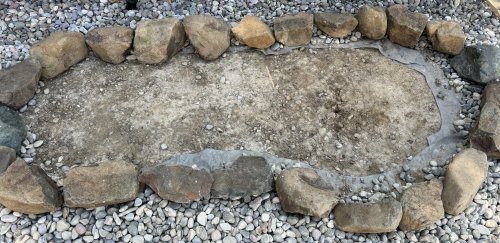
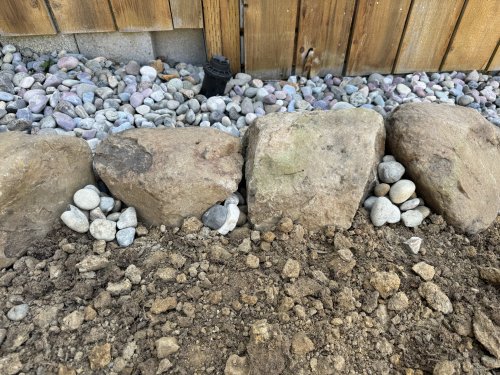
If you have a rock/pebble yard cover, place some of the rocks in between the larger rocks. This keeps the dirt and mulch from spilling over onto the rock landscape. |
 |
 |
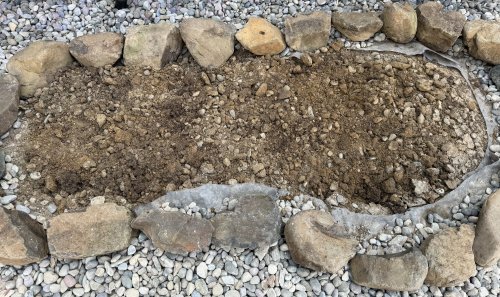
Now I have added several bags of the topsoil (3 bags), and one bag of the "planting compost" in the bed and mixed this with the existing base soil. Why? Because you don't want a sudden transition from the rich garden soil and the hard clay. The plant roots will go to the hard clay and stop, and then be confined to the top layer of soil. Further, the bed won't drain as well. |
Try to keep the soil mix away from the outer rocks when you add your soil and amendments. Add gravel
in between the big rocks, and underneath any overlapping rock edges. This also keeps the dirt from "leaking" out
into your rock landscape. |
 |
 |
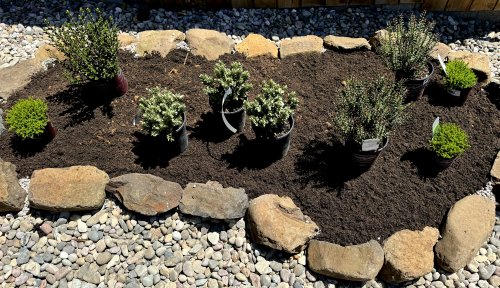
I have added a couple more bags of topsoil and then arranged the plants. Take note of plant labels for size! The three taller Hebes with short leaves shown here grow to 2 - 3 feet wide. |
The plants have all been placed into the soil. Don't forget to scrape the outer edges of their soil that was up against the container. You want to break up any "girdling" roots that have made a mat on the outer edge. Scrape the bottom edge as well. Often, roots bunch up on the bottom and may have made a layer up to a half inch thick. |
 |
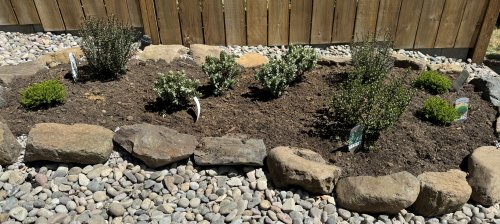 |
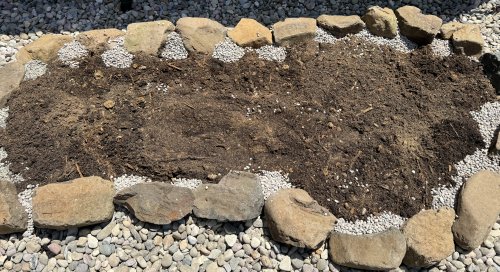
Here is the final result. |
 |
Copyright © 2024 J.A.